TL;DR: Launch in 30 MinutesWorkflow: Import Elementor booking page template → Connect system (Calendly embed or Amelia widget) → Fix issues → Test & integrate → Go live with bookings-first conversions. Key Wins: 2x faster leads-to-calls; avoid media/style pitfalls; supports any tool. Download 1-Page Checklist PDF (#) ← Your printable launch guide. (Lead magnet: Gate via email for FluentCRM nurture.) Jump to Sections: Checklist (#before-you-start) | Import (#step-1) | Fixes (#step-2) | Connect (#step-3) | Integrate (#step-4) | Test (#step-5) | Troubleshoot (#troubleshooting) | Launch List (#quick-launch) | FAQ (#faq) | Resources (#resources)
Before You Start: Checklist & Prerequisites
- Full WordPress backup (DB + files).
- Latest Elementor (free) + Pro for advanced widgets.
- PHP Zip enabled; upload_max_filesize/post_max_size to 128MB+.
- Template: .json (single) or .zip (Kit).
- Booking ready: Calendly link or Amelia/Bookly license; calendar access (Google/Outlook).
- Optional: Staging site; mobile QA screenshots.
Kit Tip: Install prompted add-ons during import—Elementor handles recommendations.
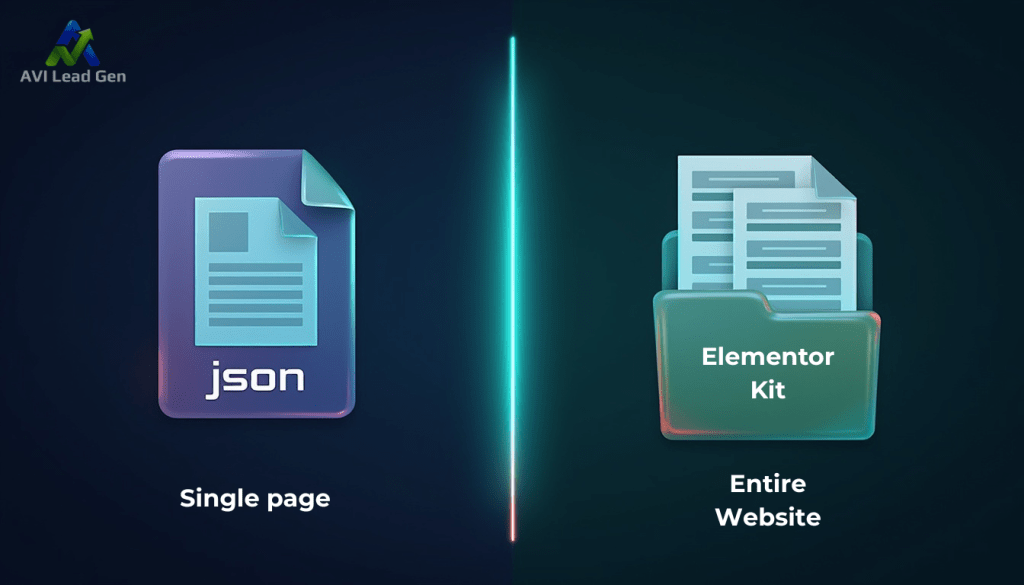
Step 1: Decide & Import – JSON vs. Kit
Once you’ve chosen the template type your project requires, visit the Elementor blog for the 10 Best Free & Pro Elementor Template Resources.
| Type | Use Case | What Imports |
|---|---|---|
| Single .json | Standalone booking page | Layout only |
| Kit .zip | Full-site consistency | Globals, headers/footers, styles, settings |
Always import Global Kit Styles first for fonts/colors.
Exact Import Steps
A. Single .json:
- WP Admin → Elementor → Templates → Import → Upload .json.
- Edit page → Elementor → Add Template → My Templates → Insert.
B. Kit .zip:
- WP Admin → Elementor → Tools → Import/Export → Start Import → Upload .zip.
- Install prompts.
- Import Globals first, then templates per order.
- Apply to pages.
Tip: Enable Container feature (Elementor → Settings → Features) – default in 2025 kits. Check PHP limits on ZIP fails.

Step 2: Fix Media & Global Styles (Exports often skip media):
- Re-upload to Media Library; replace widgets.
- For migrations: Use tools copying /uploads folder.
Tip: Styles off? Re-import Globals or tweak Site Settings (leverage Elementor AI for auto-suggestions in 2025).
For responsive design, edit in Elementor’s different display modes and adjust spacing.
Step 3: Choose & Connect Booking System
Embed external (Calendly) or native plugins with Elementor widgets.
Option A: Calendly Embed (Fastest)
- Calendly → Event → Share → Copy inline/popup.
- Elementor → Add HTML/Shortcode widget.
- Paste code (e.g., inline:
<div data-url="https://calendly.com/YOUR_URL" style="min-width:320px;height:630px;"></div><script src="https://assets.calendly.com/assets/external/widget.js" type="text/javascript" async></script>). - Test sync/notifications.
Pro Tip: Use a combination of inline and pop-up forms. Review this article for more information on form types.
Option B: Top Elementor-Compatible Plugins (2025)
| Plugin | Best For | Key Features |
|---|---|---|
| Amelia | Multi-staff, polished UI | Official widget, payments, unlimited staff |
| Bookly | Add-ons, invoicing | Multilingual, gateways; premium unlocks |
| BookingPress | Quick setup, analytics | Wizard, drag-drop; tiered plans |
| MotoPress Appointment | Hourly niches, multi-location | Flexible timetables; lite/basic free |
| Simply Schedule Appointments | Simple integration | 5-min setup; premium for teams |
| LatePoint | Modern UI, dashboards | Social login, no free tier |
| WooCommerce Bookings | Ecommerce tie-in | Group bookings; complex but powerful |
Amelia Example:
- Install/activate.
- Set services/staff/hours/payments.
- Elementor → Add widget → Select view.
- Style/test.
Step 4: Integrations & Confirmations
- Sync: Bookings to Google/Outlook.
- Notifications: Customize emails/SMS (confirmations/reminders).
- Payments: Sandbox Stripe/PayPal.
- CRM: Webhook/Zapier to FluentCRM – tag “engagement:booked” or “lead:hot.”
Step 5: Test Everything
- Flows: Desktop/tablet/mobile.
- Bookings: Free/paid tests.
- Extras: Reschedule/cancel, emails, calendar updates.
- Tracking: Analytics/UTMs on confirmation.
Quick Launch Checklist
- Backup site
- Verify Elementor (+Pro)
- Import template/Kit
- Globals (if Kit)
- Replace images/logos/copy
- Configure booking/embed
- Test sync/notifications
- Analytics/CRM hooks
- Mobile QA + accessibility
Conclusion
Wrapping up: a beautiful, bookings-first Elementor booking page template isn’t just a nice-to-have, it’s a conversion machine. Follow the five steps (prep, import, fix media & styles, connect your scheduler, and test thoroughly) and you’ll go from template file to a fully functional, mobile-ready booking page in under 30 minutes. Small details – replacing missing images, importing global styles, and wiring calendar/CRM integrations – are the difference between a “pretty” page and one that actually fills your calendar.
If you want to move faster, use the one-page checklist in this guide, test on real devices, and map bookings into your crm so every appointment becomes a tracked opportunity. And if you’d rather hand this off to a team that builds booking-first pages and wires the automations for you, learn more about our lead capture & appointment booking services.
Ready to launch? Ship the page, run the tests, and start turning visitors into booked calls — we’re here if you want help making it effortless.

FAQ
How do I import Elementor appointment booking page templates?
Follow Step 1, use the JSON option for a quick single page, and use Elementor Kit for full websites.
Do the Elementor templates include images?
The images are rarely included and often require you to re-upload them manually.
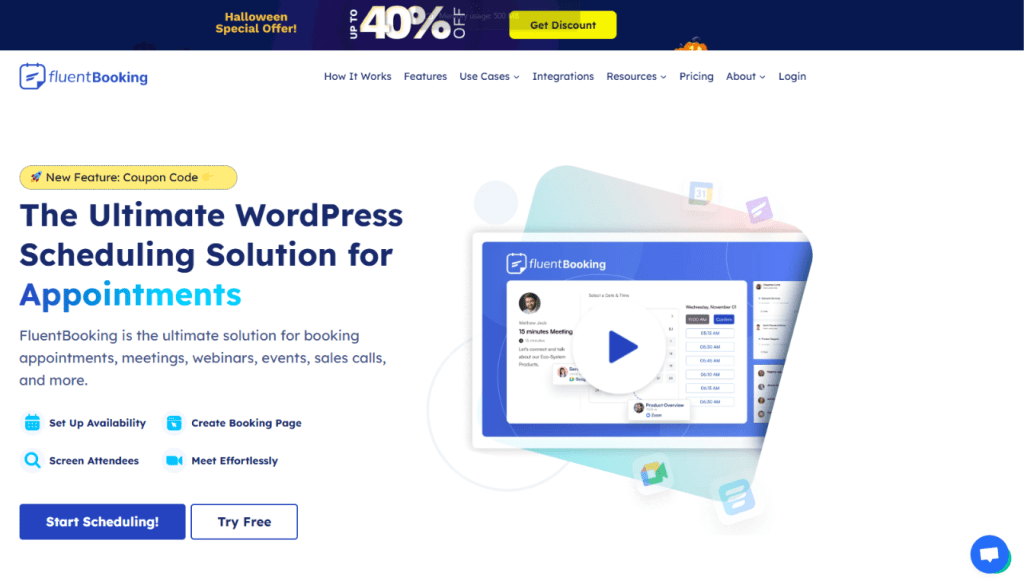
What is the best WordPress booking plugin?
The best WordPress booking plugin is one that integrates well into your current crm and other systems. Consider Calendly, FluentBooking, or any booking plugin that complements workflows.